A light chocolate hazelnut mousse cake made with beginner-friendly techniques, perfect as an impressive weekend dessert or as an eye-catching celebration centrepiece!
Ingredients
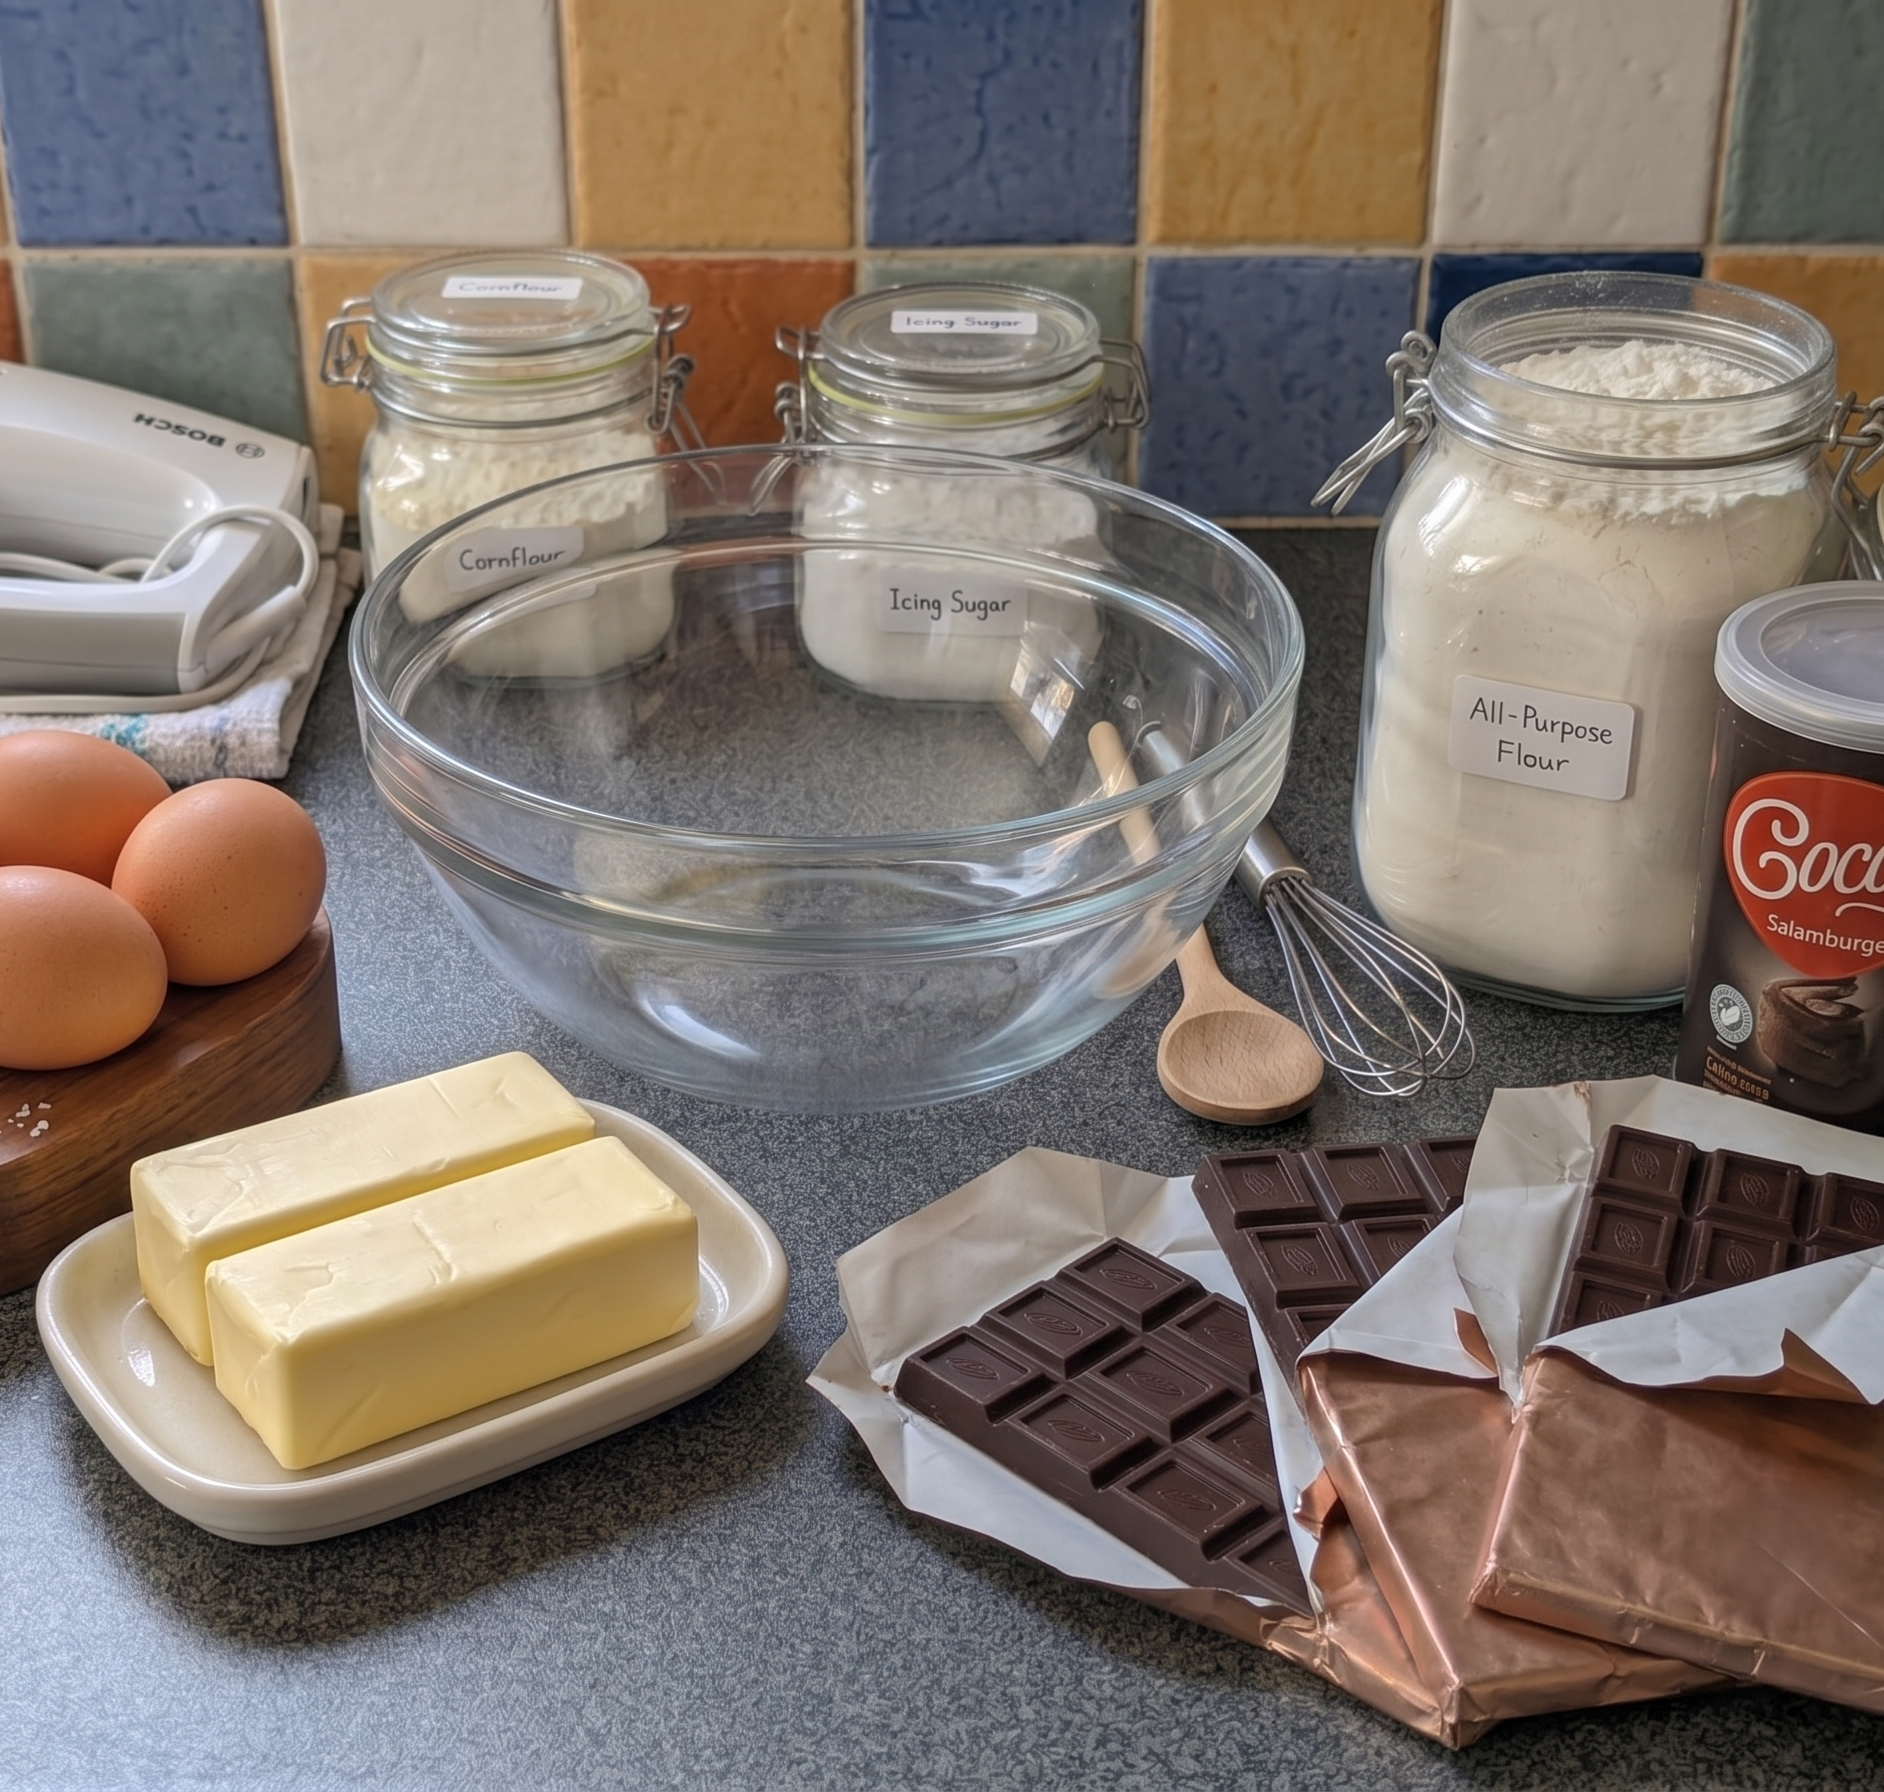
For the Chocolate Fudge Cake
100g dark chocolate
30g milk chocolate
2 tbsp cocoa powder
140g butter, softened
140g light brown sugar or muscovado sugar
4 tbsp yoghurt
3 eggs, separated
200g plain flour
1 tsp bicarbonate of soda
100ml milk
For the Mousse Frosting
100g dark chocolate
40g milk chocolate
2 tbsp cocoa powder
400ml double cream
1 tbsp icing sugar
1 tsp hazelnut flavouring (or to taste)
Method
Make the Cake
Preheat the oven to 160°C fan. Grease and line two 21cm tins.
Place the chocolate, cocoa powder and milk in a heatproof bowl. Melt gently over a bain-marie or in short bursts in the microwave, stirring until smooth. Leave to cool.
In a large bowl, beat the butter and sugar until pale and fluffy.
Beat in the egg yolks one at a time, then add the yoghurt.
Mix in the cooled chocolate mixture.
Fold in the flour and bicarbonate of soda until just combined.
In a separate bowl, whisk the egg whites to firm peaks.
Gently fold the egg whites into the batter, taking care not to knock out too much air.
Divide evenly between the tins and bake for approximately 30 minutes, or until a skewer inserted into the centre comes out clean. Leave to cool completely before removing from the tins.
Make the Mousse Frosting
Melt the chocolate gently over a bain-marie or in the microwave.
Leave to cool completely. It should remain fluid but no longer feel warm.
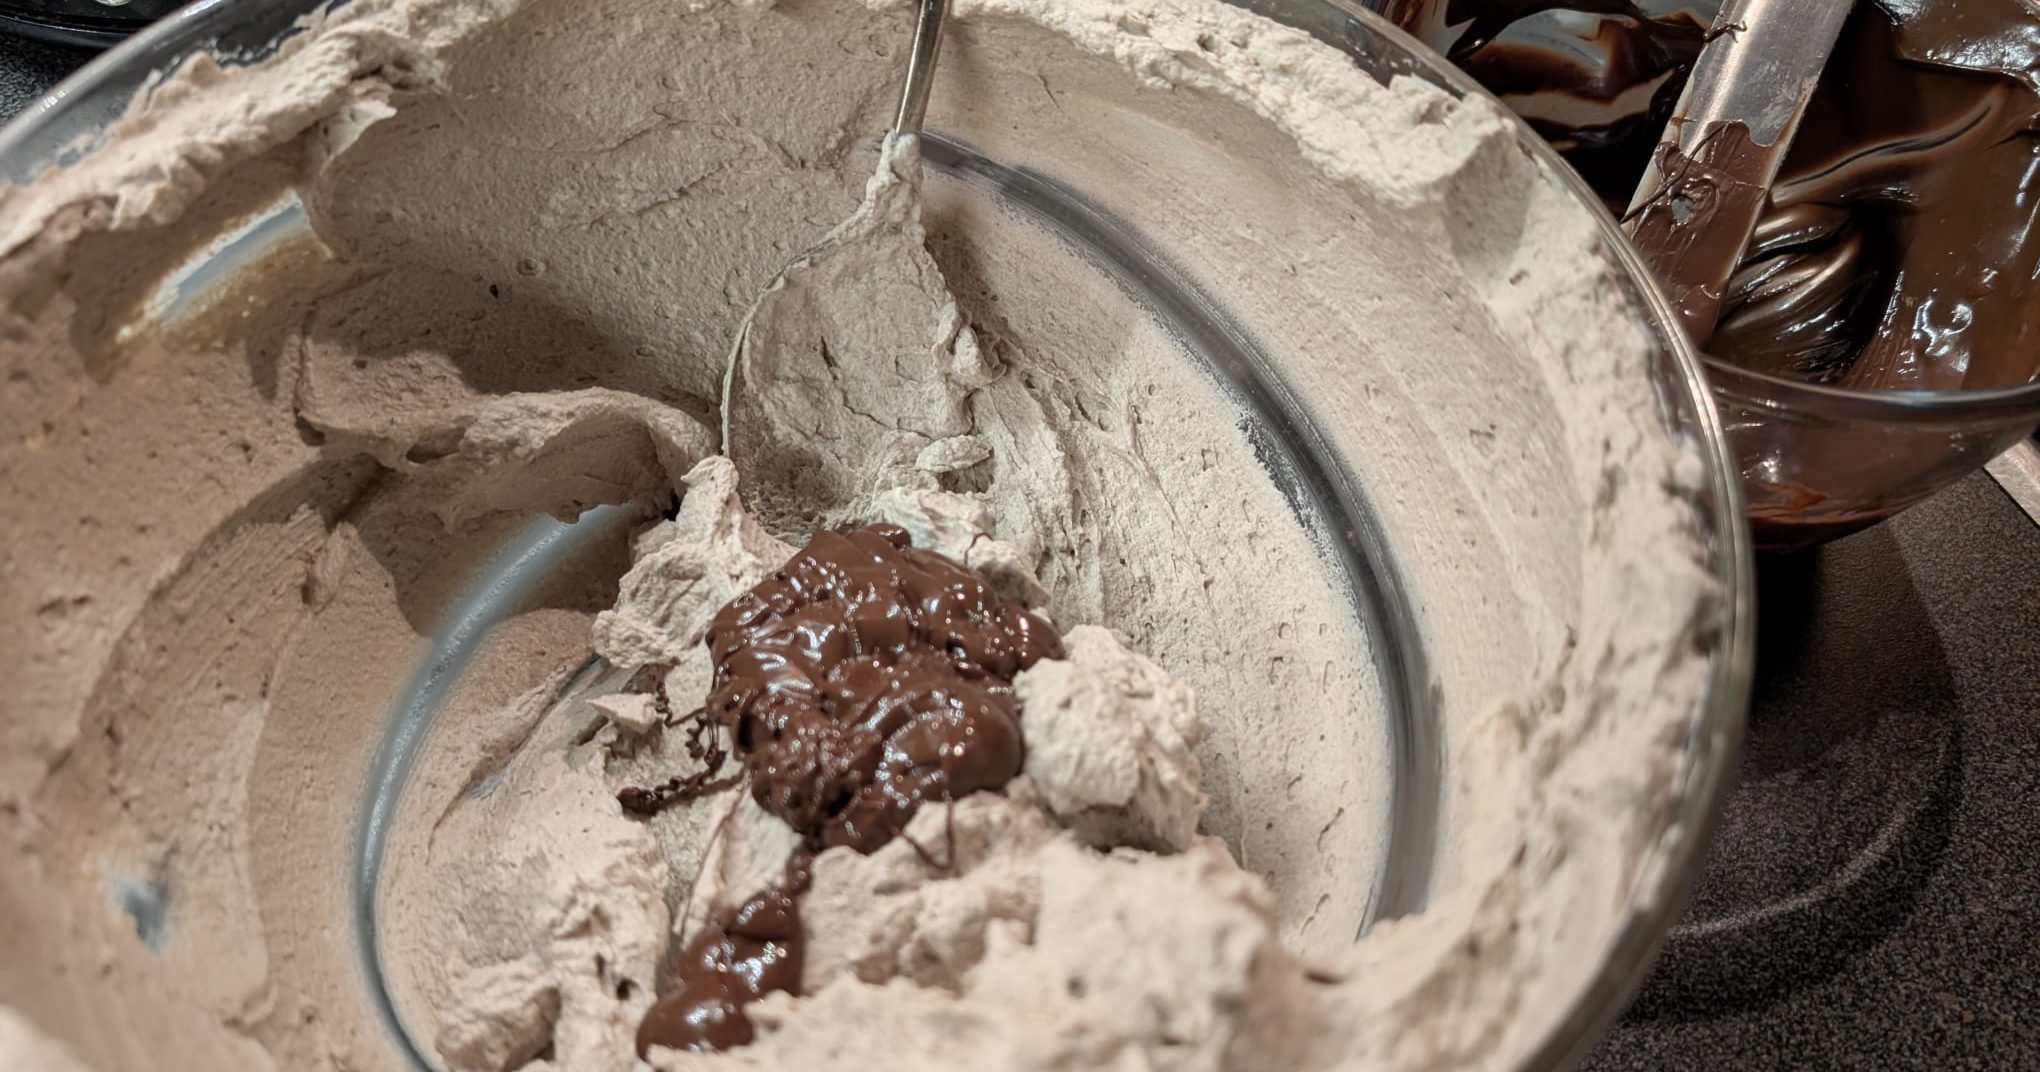
In a large bowl, whip the cream, cocoa powder, icing sugar and hazelnut flavouring.
Stop just before the cream reaches stiff peaks.
Fold in the cooled chocolate until fully combined and no streaks remain. The frosting should be light, fluffy and spreadable.

Assemble the Cake
Place a small dollop of frosting onto your serving plate to stop the cake from sliding.
Add the first sponge layer.
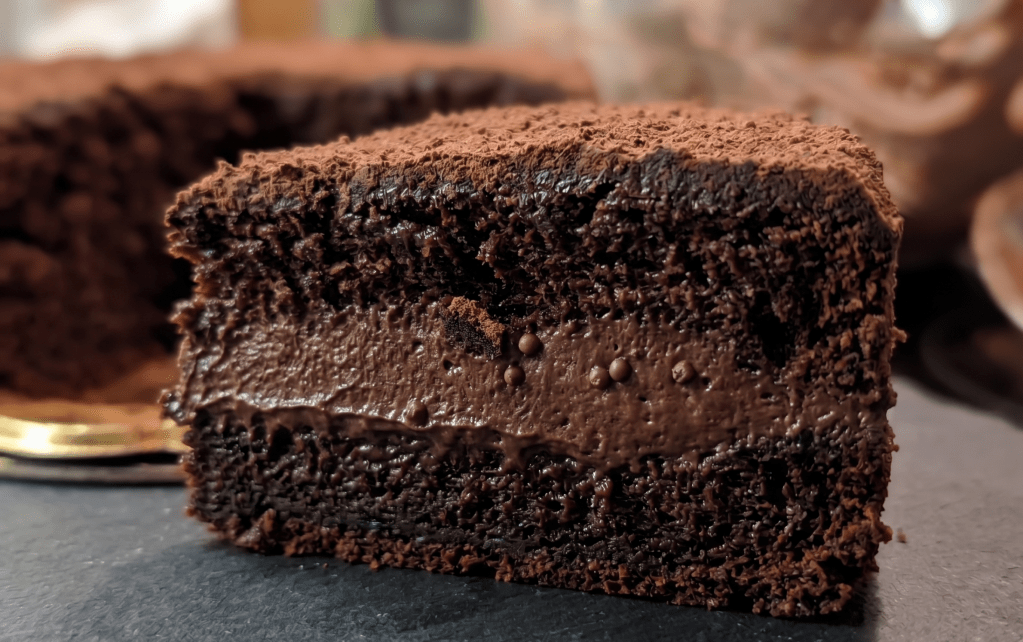
Spread a generous layer of mousse frosting over the top, allowing it to sit slightly thicker in the centre. Place the second sponge layer on top.
Apply a thin crumb coat over the entire cake. Refrigerate for 30 minutes.
Once chilled, cover with the remaining frosting, smoothing the sides first and then the top.
Refrigerate until ready to serve.
Tips & Substitutions
- No hazelnut flavouring? Replace the melted chocolate and hazelnut flavouring in the frosting with approximately ½ cup of Nutella or chocolate hazelnut spread. Because Nutella is softer than chocolate, whip the cream to soft peaks before folding it through. Adjust the icing sugar to taste.
- Dairy Ingredients: This recipe is wonderfully forgiving. I’ve successfully substituded ingredients here with:
Plant milks
A mixture of brown and caster sugar instead of muscovado
An extra egg yolk after breaking an egg
Any type of yoghurt, including plant youghurts.
Serving tips:
If you’re simply after an impressive dessert, bake the cakes in round tins, sandwich them together with the mousse frosting and allow the filling to bulge slightly at the edges.
Finish with a generous swoosh of frosting on top.
No crumb coat. No shaping. No stress. People will still be impressed!
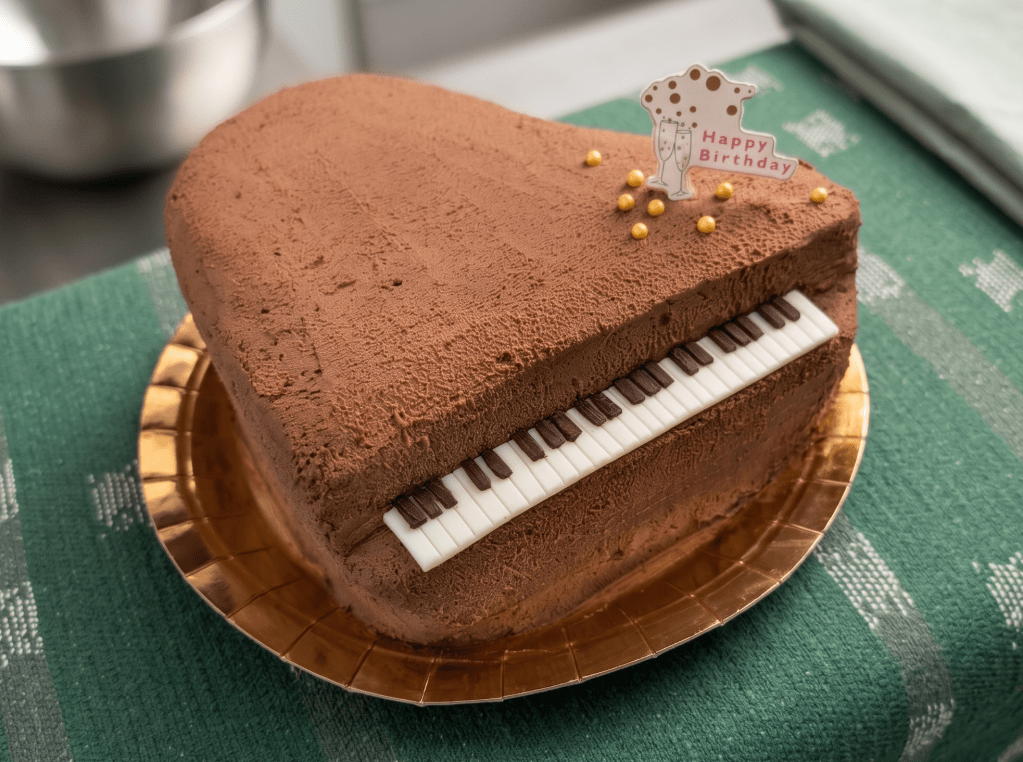
Turning It Into a Centrepiece Cake
This cake holds its shape beautifully and is an excellent candidate for a first attempt at cake carving. I’ve even turned it into a grand piano.
Prepare the cake as above and complete the crumb coat. For easier sculpting, whip the mousse frosting just a touch firmer than usual. Once chilled, use a small paring knife and a paper template to carve your design.
My biggest tip? Start with a flat 2D design before attempting anything three-dimensional.
After carving, apply another crumb coat to any exposed areas. Refrigerate for at least 30 minutes. Don’t worry about perfection at this stage. Once cooled, use the remaining frosting to refine and smooth out the shape.
Fondant decorations are often the easiest option for beginners, especially for novelty cakes. While I personally prefer eating cake to eating fondant, it remains one of the simplest ways to create clean shapes and details.
A few lessons I’ve learned the hard way:
Clean your spatula after every spread!
Use only the tip of your spatula for frosting, especially for the final smoothing.
Work slowly. Chill whenever things become messy and too soft.
Assemble directly on the serving plate whenever possible. Moving a fully frosted cake between plates is a skill I have yet to master, despite apparently running a professional baking business now :p
Good luck x